installing gate posts
 More expensive than the tanalised softwood gate posts but if your budget can afford these then they are well worth it and if you are fitting hardwood gates then we would really recommend these as if you use the Softwood posts you may well find yourself needing to replace rotten softwood posts whilst you Hardwood gates are in excellent condition.
Its always worth getting a coat of paint or stain (again whatever you are using on the gates) on the posts as it does no harm, the only thing to remember with the sawn green oak posts is that they will in time split – this is perfectly normal with green oak and is in no detriment to the strength of the posts. We do supply sawn green oak posts – please contact us for details.
Steel posts
If you would rather use something other than timber posts, then the best option is steel posts. Again as with timber posts there is no real one size fits all for the thickness and width of posts required – it’s all dependent on the width and height of the gates being attached to the posts.
Sinking the posts into the ground
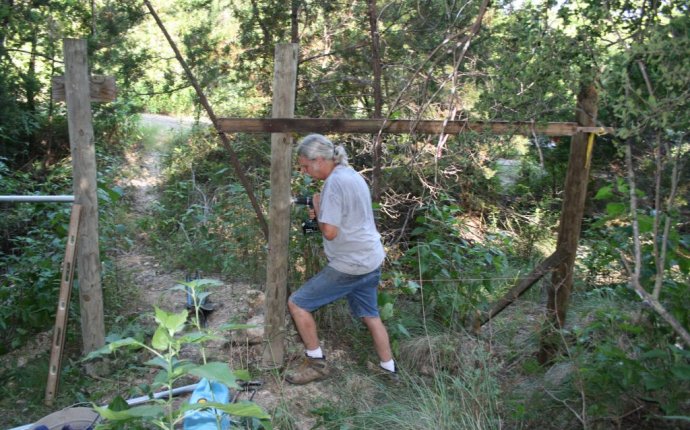
Before fitting the posts into the ground you should ensure the following:Posts are weather cut on the top (this enables water to run off – see picture above left),
Posts are the correct length (Depth of hole plus gate height plus clearances under the gate),
(i.e. 6ft high gate, with 2 inches clearances and a hole 3ft deep would require a post length of 9ft 2)
! How wide the hole needs to be is again dependent on the size of the post, for a 6″ post (150mm) I would make the hole 18″ square, giving 6″ gap all round the post.
It’s also a good idea to slope the concrete at ground level away from the gate post to act as a water run off.
1- Once your hole is dug, it’s best to place a bit of hardcore/ballast into the bottom of the hole – this ensures any water drains away and helps to stop your posts from rotting. When you’ve placed this in the hole give it a tamp down to compress it – you can use the end of a lump hammer for this.
2 – Place post in hole and check for plumb (level) on one of the faces of the post and one of the edges (always use the same edge and face on the post so you don’t get differing levels!).
Tools/Material required –
Spade/Post hole digger
Tape measure,
Spirit level,
Lump hammer,
Concrete,
Hardcore,
Source of clean water,
3 – You can at this stage tack on a couple of braces to the posts, something like 3″ x 1″ will be fine, once attached to the posts drive a couple of pegs into the ground and then attach end of braces to these pegs. These should hold the posts plumb as you fill the hole with concrete (but keep checking for plumb).
4 – Once plumb backfill around post with concrete, tamp down concrete and check for plumb. Do this in stages, backfill with concrete a bit at a time, tamp down and check for plumb each time.
5 – Once the hole has been filled with concrete, check for plumb again. If you’re satisfied that your gate post is plumb then then make sure braces/props are still secured in position.
Sinking two gate posts into the ground?
If sinking two posts into the ground (one post each side of the opening) then fit your first post as mentioned above. Once the first post is in place cut a length of timber (something like 2″ x 1″ ) to the overall width of the gate (or gates) plus the clearances required between the gates and gate posts. This staff then gives you the distance needed between posts and the positions of the gate posts can be quickly checked as you concrete the second post within the hole. Again once both gate posts are plumb, prop/brace them to keep them in position until the concrete is dry.


